Tuesday, October 15, 2013

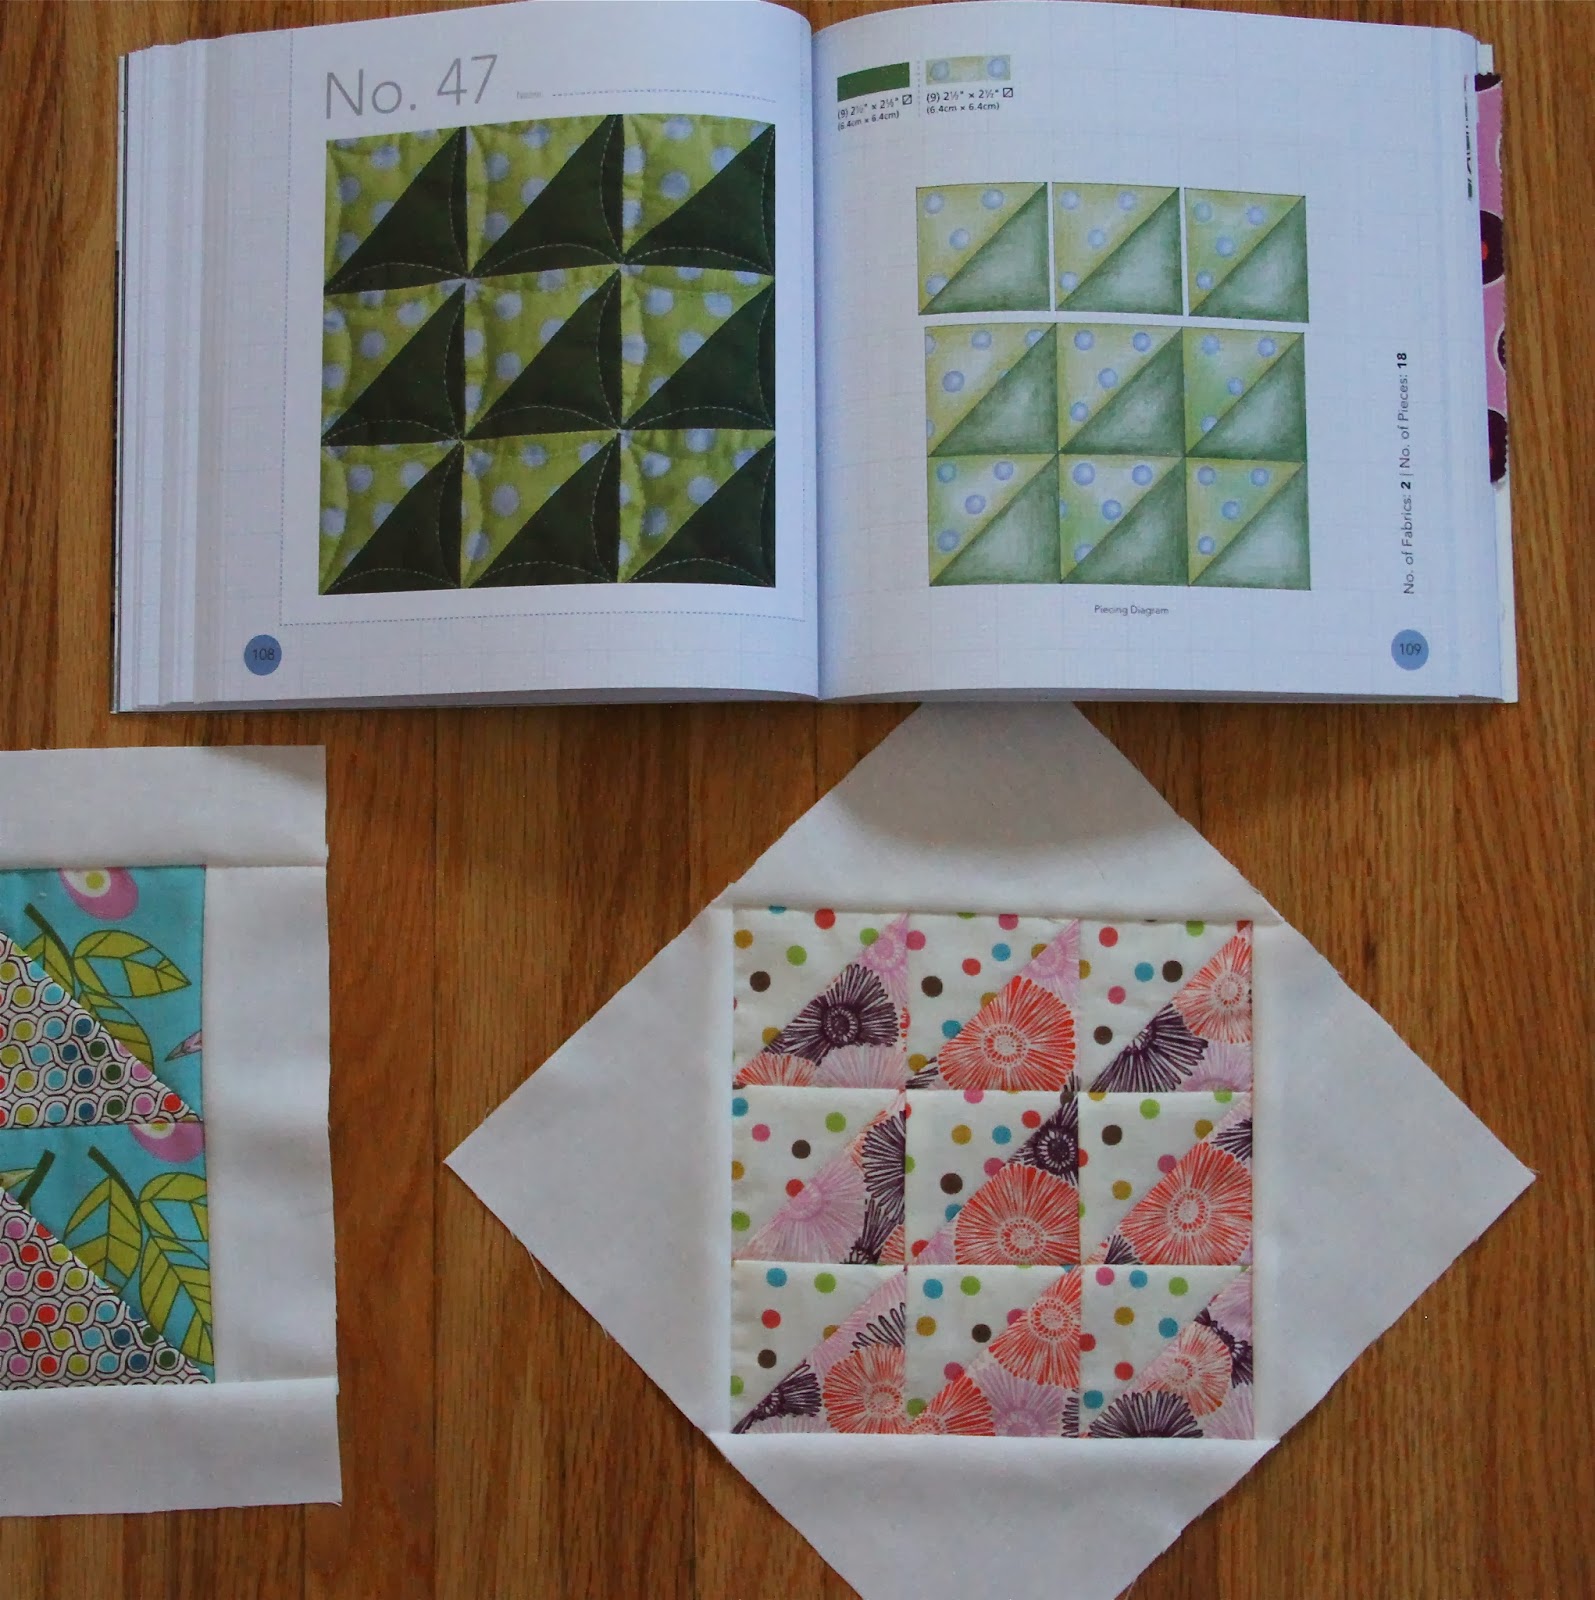
An Improv Pillow Top

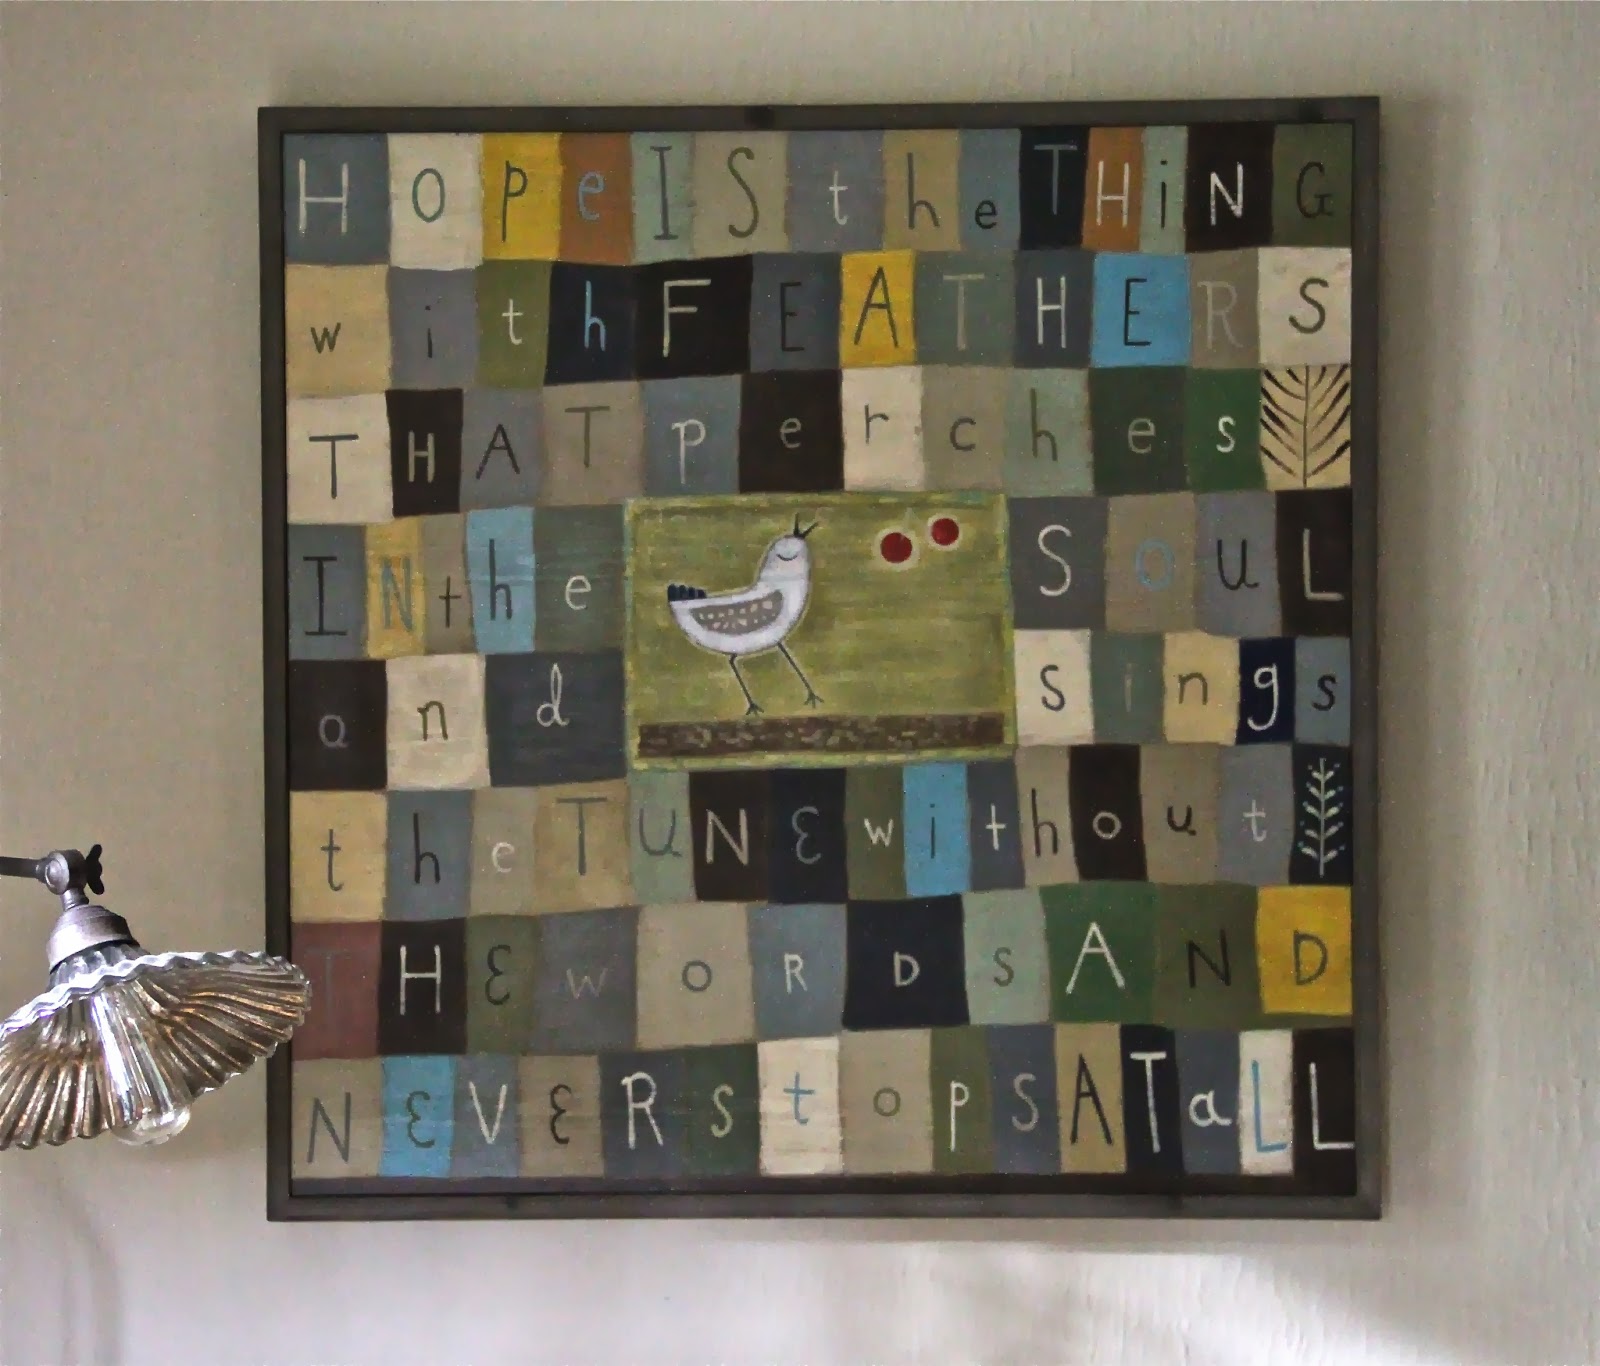
Inspiration:
(favorite artwork in my living room)
Pillow top:

Now, how to quilt it?!?!?
And do I need to make another one,
to have a matched set of pillows?  Hmmmm . . . . 

Let me know what you think!


Saturday, October 5, 2013

Before & After

Before:
After!

Yes, I used to carry around my embroidery projects in a yellow file folder.
Silly!
Isn't this pouch much more fun?!

The pattern is from the book Patchwork Please, although I changed the front a bit.  Rather than making the star patchwork in the pattern, I used up an orphan block that I had on my design wall.  This made the project much quicker!  My front block was 10 inches square, so I did have to change the size, just a bit. 
 
 On the back I quilted a few straight lines,
and added one of my labels.


Linking up to Zakka Along 2.0: Patchwork Please

Tuesday, October 1, 2013

City Sampler Catch-Up

I am way behind in sharing my blocks for the City Sampler Quilt Along!  Mostly I've been keeping up, with a few blocks skipped here and there -- but I hadn't taken photos of my blocks in months! So here are some catch-up photos (& more to come, soon!):


My kitty cannot resist a photo shoot!

My favorite block in awhile!


I'm still trying to sash each block as I go, so that the quilt will come together more quickly when the blocks are finished.  I'm doing the same kind of sashing I used on my Farmer's Wife Quilt.

I'm using Sugar Pop by Liz Scott for Moda, and Kona Snow for the sashing -- all leftovers from my Farmer's Wife Quilt!

Linking up to SewSweetness.

Friday, September 27, 2013

Love this bag!


Handy Market Tote
(pattern from the adorable book Patchwork Please)

Last night after getting the girls to bed,
 I started working on this pattern.
Can you believe that I had the bag finished and was crawling into bed by 10:30pm?  I did omit some parts of the pattern -- I didn't add a button closure or interior pockets.  And since my fabrics were both home dec weight, I skipped the interfacing, too.  
What a fabulous, quick project!
I found the red/white stripe fabric at a vintage store ($7 for 2 yards!), and the black/white print is a remnant from Ikea.
  I remembered to add a label, too --
something I almost always forget!

and


Monday, September 23, 2013

College Dorm Quilt

Have you ever made a T-shirt quilt?
I can finally say that I have!
Last winter my husband's sister asked me to make a quilt for her son for his high school graduation, and of course I said I would!  What a perfect gift for my oldest nephew.  I still remember dancing with him on my hip at my wedding -- when he was three.  Now he's over 6 ft tall, and starting his first year of college.
And his mom kept LOTS of his T-shirts!
Of course none of them were the same size, 
so the layout was tricky.
My girls (& our cat) loved helping figure out
this huge puzzle of a quilt!
I used various Kona solids to make the blocks even.
The largest T-shirt pieces measured about 14 inches, and I added fabric to the other pieces to make 24 square blocks.  Some solid sashing around the edges helped make it large enough for a twin (extra long) bed.
This quilt is heavy!  And was not so fun to quilt!
I interfaced each T-shirt piece prior to sewing them together, which added quite a bit of weight (and took forever)!  But it made the stretchy T-shirt material much easier to work with -- so I can't imagine skipping this step.
I quilted straight lines vertically, about 3-4 inches apart, and then bound it in matching Kona solids, with a zig-zag stitch.
I'm so happy to have this quilt finished!
It was really fun watching my nephew open his graduation present -- he told his younger brother to beware that his mom might have already started stealing his T-shirts, too!
Good thing I have another 4 years until my second nephew graduates from high school.
But then there are 3 more after him, yikes!

Linking up to Fabric Tuesday.

Thursday, August 29, 2013

Scrappy Sticks Tutorial

Hello!
It feels like it has been forever since I've blogged about anything . . 
. . . summer has been so busy, but so much fun!  I have lots of completed projects to share -- soon.  When the kiddos head back to school (next week), I'll do more writing.

For now though--out of necessity!!!--I have a tutorial to share.  I've had this idea in my head for awhile.  I thought there would be a tutorial out there for something like this, but I couldn't find one.  September is my month for my do.Good Stitches circle -- so for the ladies of the Peace Circle, here is this month's block:

Take a 12.5 or 13 inch square block of light to medium gray and cut in half straight down the middle.
Then make two slanted cuts on each half -- making sure you don't cut closer than 1-2 inches from the outer edges.

 Then make 3 scrappy strings -- using 1 inch wide scraps, sew as many together as you need to make the strings about 13 inches long.  On this block I've sewn 3 scraps per string, but do whatever you'd like (1 or 2 fabrics per string is fine, too).  Make sure the fabrics are bright and happy!

 Lay out your strings so that you're happy with the fabric placement, and then sew the block together.
Press seams towards the scrappy strings -- this helps them stand out a bit.
 Here is the back of the block,

and the front.

 Trim the block to 12 inches square -- to do this, very carefully line up the 6 inch mark in the exact center of the middle scrappy string -- on the finished quilt I'd like these middle strings to line up perfectly.  The outer strings won't line up, but will generally alternate in a slight zig zag pattern, like this:

Let me know if you have questions!
And thanks for making these scrappy sticks blocks!